Nut butter, a staple in kitchens worldwide, offers not only a rich taste but also a treasure trove of health benefits. Crafting it at home allows for a delightful exploration into various nuts, flavors, and textures, ensuring a fresh, preservative-free spread. This guide will walk through every step needed to create delicious nut butter, from selecting the right nuts and equipment to flavoring and storage. Embrace the simplicity and creativity of making your own nut butter and enjoy a healthier, tastier alternative to store-bought versions.
Contents
Choosing the Right Nuts
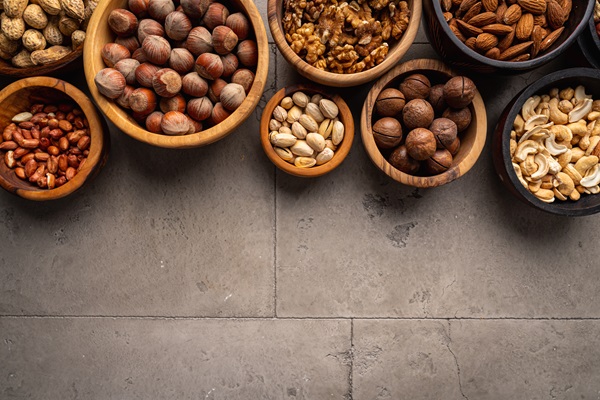
Nuts are the foundation of any nut butter, and selecting the right type is crucial for flavor and nutrition. Almonds, peanuts, and cashews are popular choices, each offering distinct tastes and health benefits. Consider experimenting with single nut varieties or mixtures for unique blends. Almonds provide a robust, slightly sweet flavor and are rich in Vitamin E, while peanuts, known for their creamy texture, offer high protein content. Cashews, with their naturally sweet and buttery taste, make for a smooth butter.
Quality is key in nut selection. Opt for raw, unsalted nuts for a natural taste and full control over your butter’s sodium content. Organic nuts can also ensure the absence of pesticides and chemicals. Bulk buying can be cost-effective but ensure freshness by checking for rancidity. Storage is critical; keep nuts in cool, dry places or refrigerate for extended shelf life.
Prepping Your Nuts
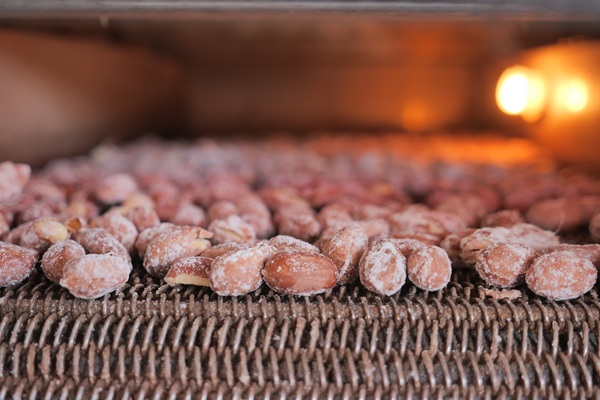
Before transforming nuts into butter, proper preparation is necessary. Roasting nuts enhances their natural flavors and eases the blending process. Spread nuts evenly on a baking sheet and roast until they’re golden and aromatic, being careful to avoid burning. For those preferring a raw taste or maximum nutritional benefit, consider soaking nuts. Soaking can reduce phytic acid, making nutrients more accessible. It also softens nuts, facilitating a smoother blending process. Drain and dry nuts thoroughly before use.
Some nuts, like almonds, may require skin removal for a smoother texture. Blanching or roasting can help loosen skins. Rubbing the nuts together in a towel or letting them cool after roasting makes the skins easier to peel off. However, skins can add a depth of flavor and additional nutrients, so consider your preference for texture versus taste. Once prepped, nuts are ready for transformation. Whether roasted for a deep, rich flavor or soaked for a milder taste, the preparation sets the stage for a successful nut butter-making process.
Equipment Needed
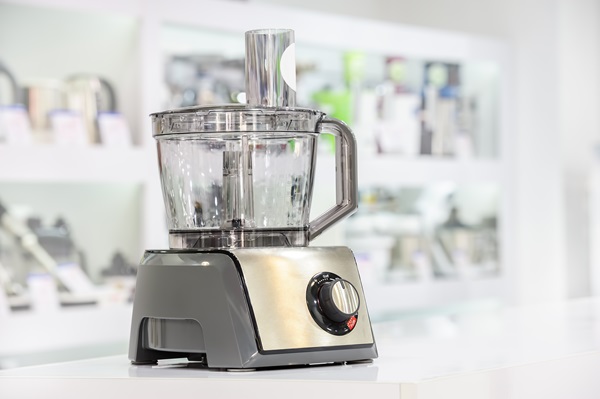
The right equipment is essential for turning nuts into creamy butter. A food processor is most commonly used, capable of handling the hard texture of nuts and transforming them into a smooth spread. Alternatively, a high-powered blender can work, especially for softer nuts or smaller batches. When selecting a food processor or blender, consider its power and capacity. More robust machines can handle larger quantities and tougher nuts without overheating. Look for devices with strong, durable blades and motors that sustain prolonged use.
Some might prefer a more hands-on approach, using a mortar and pestle. While significantly more labor-intensive, this method can provide a rustic, coarsely textured butter. It allows for a deeply personal and engaging experience with the food-making process. Regardless of the chosen equipment, ensure it’s clean and in good working condition. Regular maintenance and cleaning will extend its life and prevent unwanted flavors or contaminants in your nut butter. Choose based on your volume needs, desired texture, and effort you wish to invest.
The Blending Process
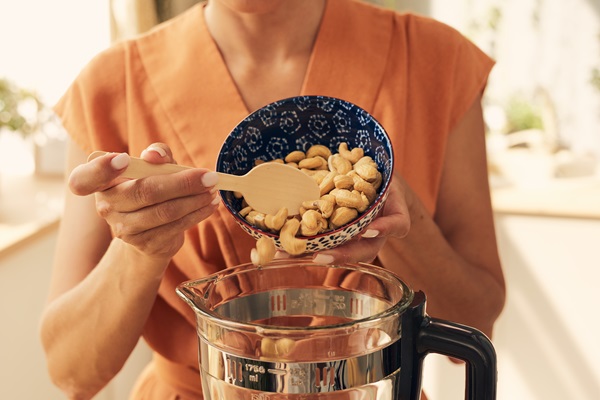
The transformation into butter begins with the blending process. Start with a moderate quantity of nuts to not overwhelm your machine. Pulse at first to break them down into a coarse powder before processing continuously. As oils are released, the mixture will clump together and then slowly become creamy. Patience is key; the process can take several minutes, depending on the nut type and equipment. Stop occasionally to scrape down the sides and ensure an even blend. If the mixture is too thick or stalls, adding a small amount of oil can help achieve a smoother consistency.
Monitor the butter’s texture throughout blending. For a chunkier spread, stop earlier when small nut pieces remain. For silky smooth butter, continue processing until no granules are left. Pay attention to the machine’s heat; if it becomes too warm, pause to prevent overheating, which can affect the taste and quality of your nut butter. The final texture of your nut butter can vary from thick and spreadable to drippy and runny, influenced by blending time, added oils, or nut type. Experiment with these variables to find your perfect consistency.
Flavoring Your Nut Butter
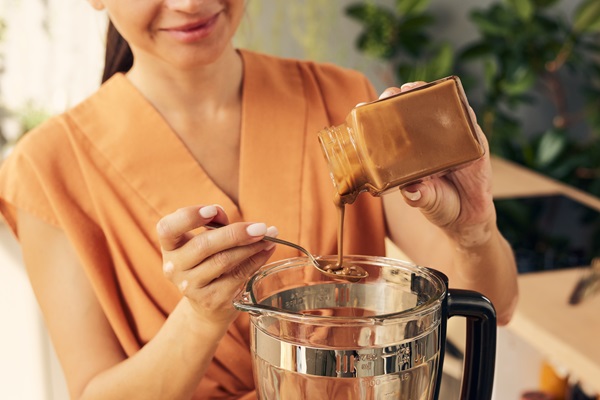
Once you have the basic nut butter, it’s time to flavor it. Sweeteners like honey or maple syrup, spices like cinnamon or nutmeg, and even a pinch of salt can transform the taste. Chocolate or vanilla extracts can add a dessert-like quality, while savory options might include chili flakes or curry powder. Experimenting with different flavors allows you to customize the nut butter to your liking and discover exciting new combinations. Balance is key; start with small amounts of any additive and taste frequently. It’s easier to add more flavor than to correct an overly seasoned batch.
Consistency might change with additions, especially liquids, so adjust blending accordingly. For textured additions like chopped nuts or dried fruit, fold these in after the butter reaches its desired consistency to maintain their integrity. This way, each jar of homemade nut butter can be a new culinary adventure. Remember, the goal is to enhance the nutty base with complementary flavors that excite the palate, ensuring that every spread is both delicious and unique.
Storing Your Nut Butter
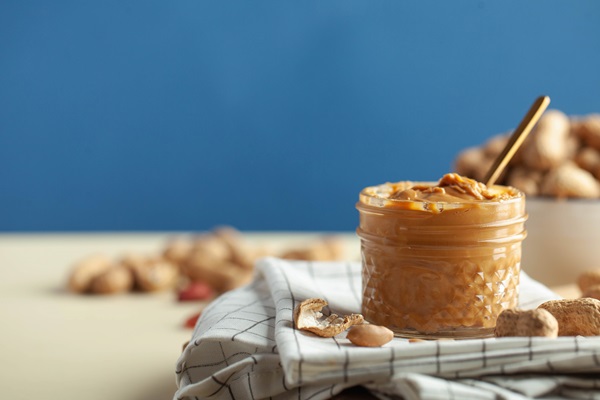
Proper storage is vital to maintaining the freshness and quality of your homemade nut butter. Generally, nut butter can be stored in an airtight container in the refrigerator for several weeks. Cooler temperatures slow down oil separation and prevent spoilage. If you prefer a softer consistency, let it sit at room temperature for a short while before use. Some natural separation may occur; simply stir the oil back in before enjoying. The shelf life of your nut butter can vary depending on the ingredients used.
For longer storage, note the freshness of your nuts before starting, as older nuts can lead to quicker spoilage. Keep an eye out for any signs of mold or an off smell, as these indicate that the butter has gone bad. With proper care, your homemade nut butter can be a long-lasting treat. Regularly checking the consistency and smell can help you enjoy it at its best. By understanding and implementing these storage techniques, you can extend the enjoyment of your homemade spread.
Nut Butter Uses and Recipes
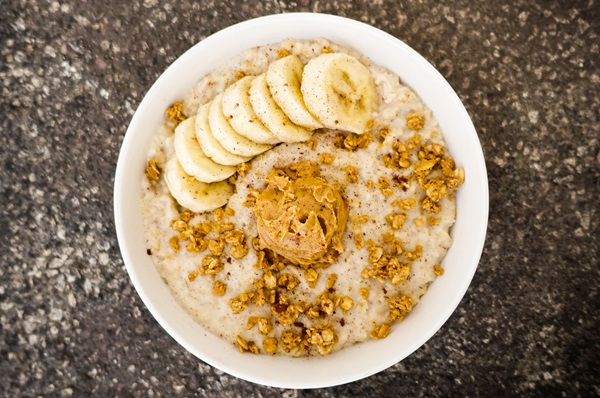
Homemade nut butter isn’t just for spreading on toast; its uses are myriad. Stir it into oatmeal or yogurt for a protein boost, use it as a base for dressings and sauces, or incorporate it into your baking for moist, flavorful treats. It’s also delightful in smoothies, offering a creamy texture and rich taste. The versatility of nut butter makes it a valuable addition to various dishes, enhancing both the flavor and nutritional content.
To get the most out of your nut butter, try incorporating it into simple recipes. Blend it into a banana smoothie for a quick breakfast, mix it with honey and oats for homemade energy bars, or swirl it into brownies for a nutty twist. For a savory option, consider a peanut sauce for noodles or vegetables. Each recipe offers a unique way to enjoy the fruits of your labor, turning your homemade nut butter into a staple ingredient for an array of delicious creations.
Making Nut Butter Safely
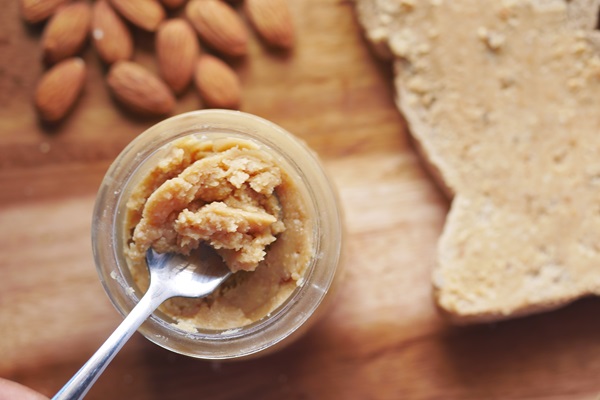
When making nut butter at home, it’s crucial to prioritize food safety. Ensure all equipment is clean and in good condition to prevent contamination. Be mindful of nut allergies, both for personal consumption and when sharing with others. Use quality nuts and store them properly before making your butter to avoid spoilage and potential health risks. Regularly check your nuts for signs of mold or rancidity, as these can affect both the flavor and safety of your final product.
Additionally, understand the proper handling and storage of raw nuts. They should be kept in a cool, dry place and used within an appropriate time frame. When preparing nut butter, pay close attention to the texture and smell, as these can indicate the freshness and safety of the product. By following these precautions, you can enjoy homemade nut butter that is not only delicious but also safe and healthy.
Start Spreading the Nutty Goodness
As you embark on your nut butter-making journey, embrace the simplicity, health benefits, and joy of crafting this delicious spread at home. Experiment with different nuts and flavors to create a variety that excites your taste buds. Remember, every batch reflects your personal touch and creativity. So, grab your favorite nuts and start spreading the nutty goodness today! Your freshly made, wholesome nut butter awaits to transform your meals and snacks into delightful culinary experiences.


