Reviving old furniture is not just about saving money; it’s about unleashing creativity and giving a unique touch to one’s living space. This process can be both rewarding and environmentally friendly, offering a second life to pieces that might otherwise be discarded. The following guide presents a comprehensive approach to transforming tired, worn-out furniture into vibrant, eye-catching pieces. From assessing the condition of the furniture to adding the final touches that make a piece truly stand out, this journey is filled with opportunities for personal expression. Whether one is a seasoned DIY enthusiast or a beginner, the steps outlined here are designed to inspire and guide through the process of making old furniture look like new again.
Contents
Assessing Your Furniture’s Condition

Before diving into the refurbishing process, it’s crucial to assess the condition of the furniture. This step determines the extent of the work needed. It involves examining the piece for signs of wear, like scratches, dents, or fading. The type of material – be it wood, metal, or upholstery – will influence the restoration approach. Some pieces might only need a fresh coat of paint or varnish, while others may require more extensive repairs. This initial assessment is vital as it sets the stage for the subsequent steps, ensuring that the refurbishment process is effective and efficient.
Understanding the furniture’s structural integrity is equally important. Checking for loose joints, weakened frames, or torn upholstery helps decide whether to repair, replace, or reinforce these areas. This step is not just about aesthetics but also about safety and durability. A thorough assessment at this stage will ensure that the refurbished piece is beautiful but also functional and long-lasting.
Cleaning and Prep Work

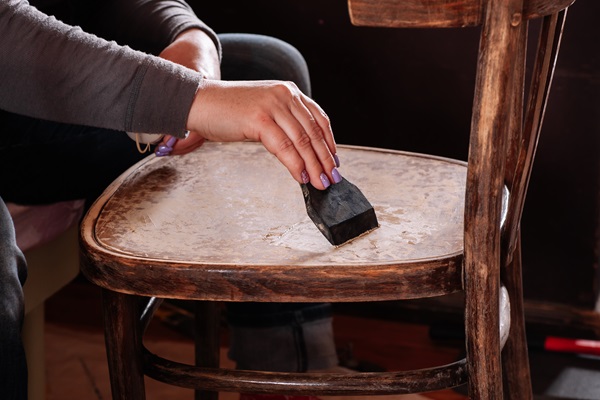
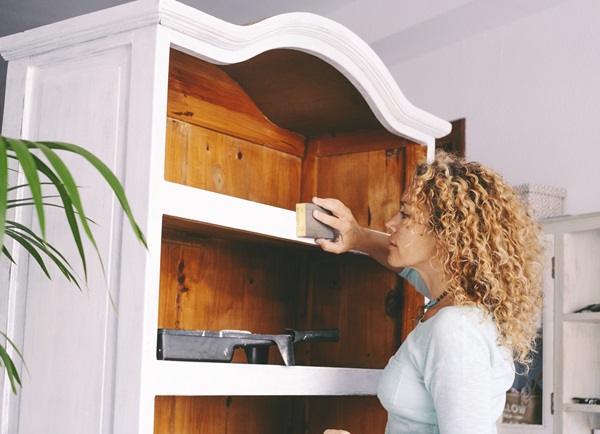
The first physical step in the transformation process is cleaning and preparing the furniture. This is a crucial stage, as proper preparation ensures that any paint, stain, or varnish adheres correctly and lasts longer. Cleaning involves removing dust, grime, and old paint or varnish. The method used for cleaning will depend on the furniture’s material. For instance, wooden furniture requires gentle cleaning followed by sanding, whereas metal might need a rust remover and a wire brush.
After cleaning, the next step is to prep the area for the restoration work. This means setting up a well-ventilated workspace, laying down drop cloths to protect the floor, and gathering all necessary tools and materials. Preparing the area and the furniture properly can make a significant difference in the project’s ease and the final result’s quality.
Repairing Damage

Repairing damage is where the real restoration work begins. This step involves addressing any scratches, dents, or structural weaknesses. Wood filler can be used for wooden furniture to repair scratches and dents, followed by sanding to create a smooth surface. In the case of metal furniture, dents can be hammered out, and any rust can be treated with a rust inhibitor.
When it comes to structural repairs, it’s important to assess whether you can do it yourself or if professional help is needed. Tightening or replacing screws and hinges can often be done at home, but more significant repairs, like fixing broken legs or re-welding metal parts, might require specialized skills. Ensuring that the furniture is aesthetically pleasing and structurally sound is key to a successful refurbishment.
Painting and Staining

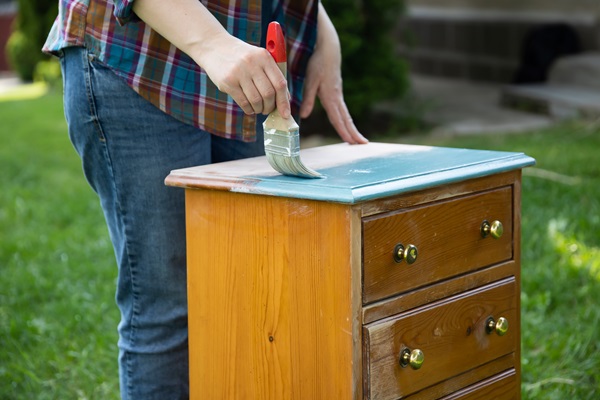
Choosing the right paint or stain can dramatically change the look of the furniture. When selecting a product, consider the type of material you’re working with and the desired finish. Staining wood can enhance its natural beauty for a classic look, while painting can give it a fresh, modern appearance. It’s important to use products specifically designed for furniture to ensure durability and a professional finish.
Applying paint or stain requires patience and attention to detail. It often involves multiple coats, with adequate drying time in between. Using the right tools, like high-quality brushes or rollers, can significantly impact the smoothness and evenness of the application. Techniques such as distressing can add character to the piece, creating a vintage or rustic look.
Upholstery and Fabric Refresh

Refreshing the upholstery is a transformative step in refurbishing furniture. When choosing a new fabric, consider both aesthetics and functionality. Durability is key, especially for furniture that will be used frequently. The fabric’s color and pattern should complement the room’s overall design. There are various techniques for reupholstering, ranging from simple stapling of new fabric over old to completely stripping the furniture and starting fresh. For those not ready to tackle reupholstering, options like slipcovers or fabric sprays can offer a temporary change.
The existing fabric on furniture can often be rejuvenated without needing replacement. Techniques like steam cleaning, applying fabric conditioner, or even dying the fabric can bring new life to the piece. It’s important to always test cleaning or treatment methods on a small, inconspicuous area first to ensure the fabric can handle the process without damage. Keeping the original fabric can add to the charm and authenticity of the furniture, especially if it’s vintage or antique.
Adding Finishing Touches

The final step in refurbishing furniture is adding those personal finishing touches that make a piece truly unique. This can include decorative elements like stencils, decals, or even hand-painted designs. These details can be subtle or bold, depending on the desired effect. Adding new hardware, such as handles, knobs, or pulls, is another way to update the look of a piece dramatically. Choosing hardware that complements the style and color of the furniture can tie the whole piece together.
Sealing the refurbished furniture is crucial for protecting the finish and ensuring its longevity. This might involve applying a coat of clear varnish, wax, or a sealant, depending on the materials used in the refurbishment. It’s also an opportunity to get creative with the finish, whether choosing a high-gloss sealant for a sleek look or a matte finish for a more understated appearance.
Maintaining Your Refurbished Furniture

Once the furniture is refurbished, maintaining its appearance is key to enjoying it for years. Regular cleaning with the right products will keep it looking fresh and prevent damage. Avoid harsh chemicals, and use appropriate cleaners for the furniture’s material. It’s also important to protect the furniture from environmental factors like direct sunlight, which can fade colors, and moisture, which can cause damage.
Periodic checks for any signs of wear or damage will help address issues before they become significant problems. This might include tightening loose screws, reapplying sealant, or touching up paint. Knowing when to repeat the refurbishing process is also important; sometimes, a simple touch-up can refresh the piece without needing to repeat the entire refurbishment process.
The Bottom Line
Refurbishing old furniture is an art that combines creativity, skill, and patience. This guide has walked through the key steps to transforming worn-out pieces into stunning, like-new furniture. It’s a journey that saves money, benefits the environment, and results in unique, personalized pieces that reflect individual styles and tastes. The satisfaction of sitting back and admiring a beautifully refurbished piece of furniture that one has worked on with one’s own hands is unparalleled. This guide aims to inspire and empower more people to take on the rewarding challenge of furniture refurbishment. With the right approach, tools, and imagination, anyone can breathe new life into old furniture, making it a cherished part of their home for years.


