A well-installed home security system can be essential to your home, providing safety and peace of mind. It offers protection against intrusions, helps monitor activities, and could even be useful for emergencies. With some planning, the right tools, and a little patience, you can secure your home and potentially save money by hiring a professional installer. This guide will walk you through setting up your home security system – a DIY project that’s more feasible than you might think.
Contents
Planning Your Security System

Before diving into the installation, having a clear plan for your security system is crucial. This includes determining the areas of your home you’d like to monitor, the best locations for installing cameras and sensors, and deciding which type of security system suits your needs best. You should focus on common entry points like front and back doors and windows or more spacious areas like living rooms and hallways. Remember, the goal is to maximize the coverage while considering the limitations of your chosen system.
On the subject of systems, there are various types to choose from – wired, wireless, monitored, and unmonitored. Wired systems require connecting the cameras and sensors to the main control panel using cables, while wireless systems rely on WiFi or other wireless connections. Monitored systems are watched by a security company, which can respond to alerts, while unmonitored systems only trigger alarms or notifications to your phone. Your choice should depend on your budget, the size and layout of your home, and your comfort with technology.
Choosing The Right Home Security System
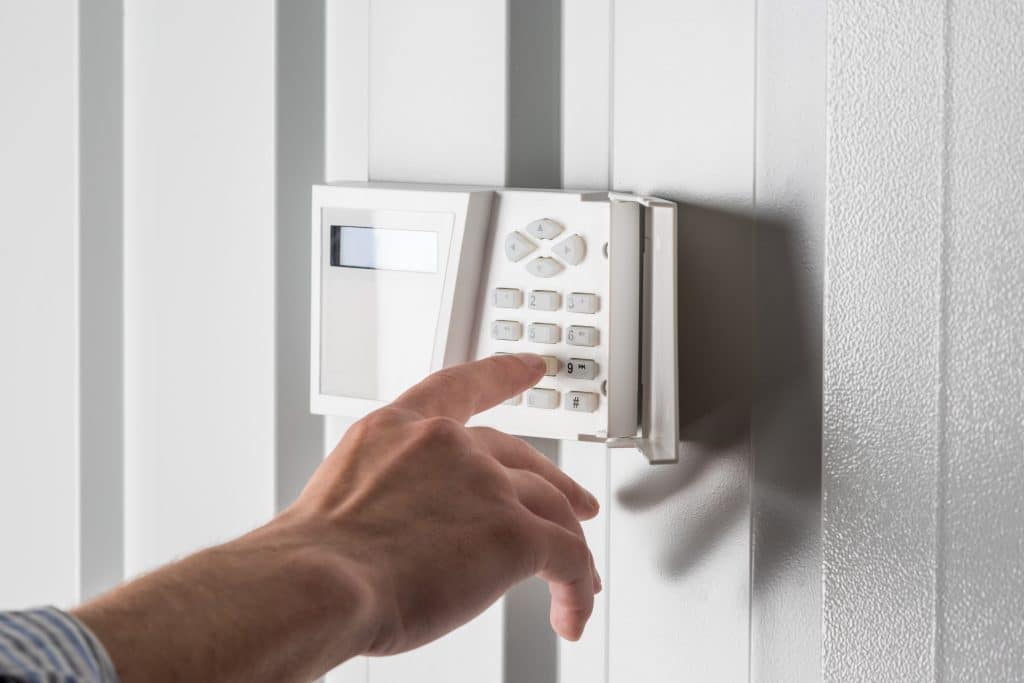
Once you’ve created your plan, the next step is to choose the right home security system that matches your requirements. Consider various brands and models’ features, installation processes, and price points. Research and compare the specifications of different systems. Does the system offer remote access? Can you connect it to your smartphone? Will it work during power outages? Answering these questions will help you make an informed decision.
As important as the technical specifications, however, is whether the system matches your home’s unique layout. Some systems might be better suited for larger homes, while others may be designed with apartments in mind. Similarly, if you’re technologically inclined, you might want a system with advanced features and customizable settings. On the other hand, if you’re looking for simplicity, a system with basic features and a straightforward setup might be more appropriate.
Understanding Your Home Layout

Properly understanding your home’s layout is key to the effectiveness of your security system. The design and structure of your home significantly influence where you should place your security system components. For example, cameras should be installed in a location that covers the maximum area possible without any obstruction. Also, consider the areas in your home that might be vulnerable to break-ins, such as the front and back doors or ground-level windows.
Another important aspect to consider is your home’s interior design and décor. It’s all about balancing the aesthetics of your home with the practicality of securing it. While security is important, you probably don’t want to make your home look like a fortress. Choose locations for your devices where they will be effective but unobtrusive.
Preparing For Installation
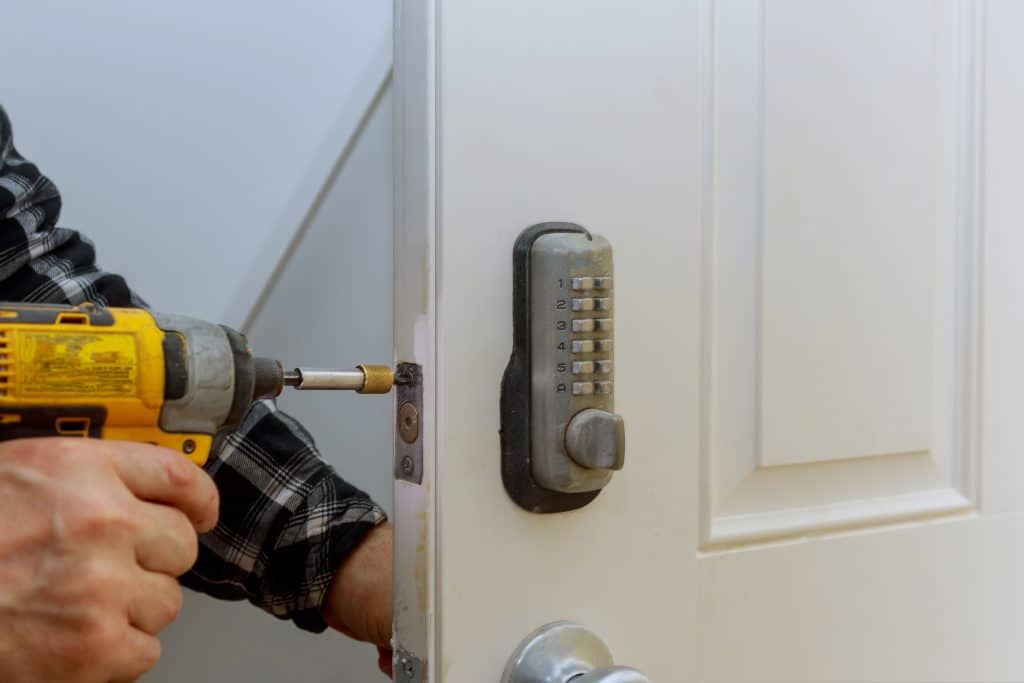
Now that you’ve planned your system and chosen your equipment, the next step is to prepare for the actual installation. You’llDepending on your system’s specifics, you’ll need certain tools, but common items include a drill, screwdriver, wire stripper (for wired systems), and a ladder. Additionally, you should check the walls or ceilings where you plan to install devices to ensure they’re in a condition that can support the equipment.
Safety should be your top priority during installation. Ensure you follow all the manufacturer’s guidelines and precautions. This may include wearing safety gear like gloves and safety goggles, not overreaching on the ladder, and ensuring you’re not drilling into any hidden electrical wiring.
Installing The Main Panel

The main panel, often called the control panel, is the brain of your security system. It communicates with all your sensors and devices, triggers alarms, and sends alerts. When choosing a location for your main panel, consider accessibility and ease of wiring. Typically, this is installed in a closet or a basement where it can be easily accessed but is also out of sight.
When you’re ready to install, follow the manufacturer’s instructions carefully. It usually involves mounting the panel box to the wall, connecting it to a power source, and setting up a communication link with the sensors and devices. For wireless systems, this involves setting up the WiFi connection. This means running cables from each device back to the main panel for wired systems.
Installing Sensors And Cameras
Next, it’s time to install your sensors and cameras. These are your eyes and ears for your security system. Start by mounting the sensors on doors and windows – these will alert you when the doors or windows are opened. You should also install motion detectors in large common areas. These devices can detect movement and add another layer of security.
Installing cameras is a slightly more complicated process. You’ll want to install cameras high enough to avoid tampering but ensure they are accessible for maintenance. Additionally, consider the field of view, lighting conditions, and potential obstructions when choosing camera locations. If your camera is motorized, make sure it can move freely in all intended directions.
Testing The System
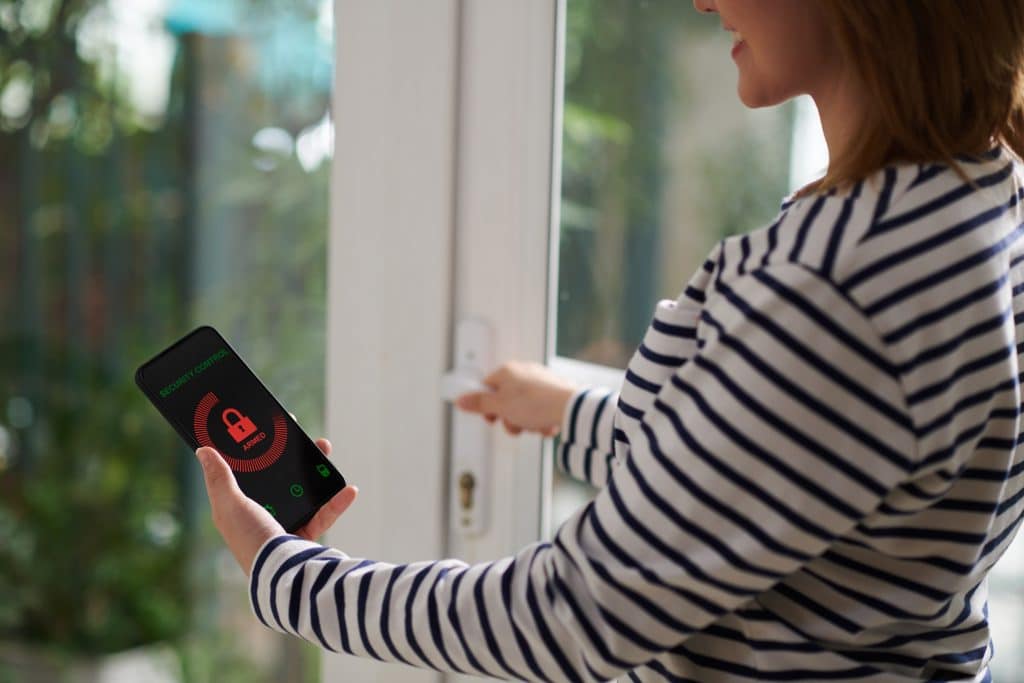
Now that everything is installed, it’s time to test your system. This is essential to ensure that all your devices function as they should. Follow the manufacturer’s guide to testing each component. If a device isn’t working, ensure it’s correctly installed, has power, and is correctly connected to the main panel.
Once you’ve confirmed that all devices are working, it’s time to tweak your settings for optimal security. This may involve setting up your alarm volume, adjusting camera angles for better views, setting up the notifications on your phone, and more. Remember, the goal is to create a system that provides comprehensive coverage of your home, alerting you to any potential security issues.
Use These Tips For Installing A Home Security System
Happy installing! Installing a DIY home security system is a practical project that significantly benefits your home’s safety. It can be a satisfying task for the peace of mind a security system brings and the fulfillment derived from completing a DIY project. Hopefully, with this guide, you’re now equipped with the knowledge to plan, install, and operate your home security system. Just remember to follow safety guidelines during installation and to regularly maintain and test your system to ensure it continues to protect your home effectively.


