A functional kitchen faucet is essential in any home, serving not only as a tool for daily tasks but also as a focal point in kitchen design. However, when a faucet starts to fail, it can become a source of frustration, leading to unnecessary water wastage and potential damage. Understanding the signs of a faulty faucet and knowing how to replace it are valuable skills for any homeowner. This guide aims to walk you through the process of identifying a bad faucet and replacing it step by step, ensuring your kitchen remains both practical and aesthetically pleasing.
Contents
Identifying Signs of a Bad Faucet
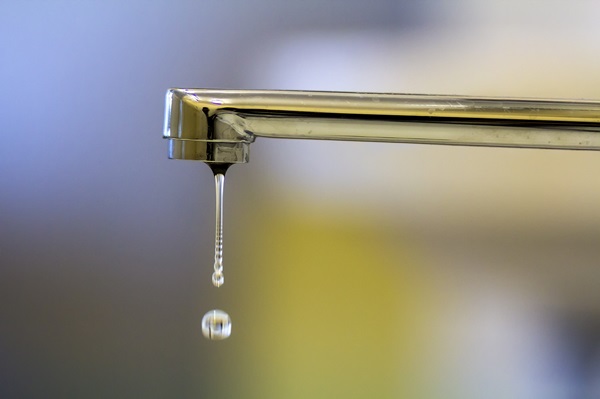
The first step in replacing your kitchen faucet is recognizing that it’s time for a change. Common signs of a malfunctioning faucet include persistent dripping, which can signify a worn-out valve, and rust or mineral deposits, which can impede water flow and quality. Additionally, a noticeable decrease in water pressure or strange noises when the faucet is turned on are telltale signs of internal issues. It’s crucial to address these problems promptly to avoid further complications.
Deciding whether to repair or replace a faucet depends on the severity of these issues. Minor problems like a loose handle or a worn washer can often be fixed easily. However, if the faucet has persistent leaks, extensive rust, or if it’s simply outdated and doesn’t match your kitchen’s style anymore, replacement is the best option. This decision not only resolves the immediate issues but also offers an opportunity to upgrade your kitchen’s functionality and aesthetics.
Choosing the Right Replacement Faucet

Selecting the right replacement faucet is a blend of practicality and style. Kitchen faucets come in various types, including pull-down, pull-out, single-handle, and double-handle models. Each type offers different functionalities; for instance, pull-out faucets are great for larger sinks, while single-handle faucets offer simplicity and ease of use. Consider the faucet’s compatibility with your sink’s existing setup, including the number and spacing of holes.
When choosing a faucet, consider the finish and material, as these should complement your kitchen’s decor. Popular materials include stainless steel, chrome, and bronze, each offering durability and distinct aesthetic appeal. Additionally, look for features like water-saving technologies or built-in filtration systems. These features not only enhance the faucet’s utility but also contribute to a more sustainable household.
Tools and Materials Needed
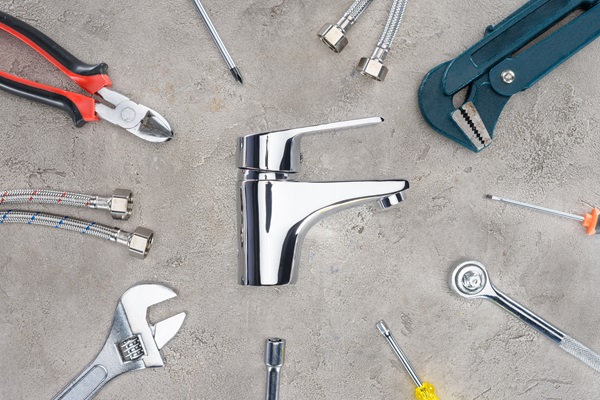
Before beginning the replacement process, gather all the necessary tools and materials. You’ll need an adjustable wrench, basin wrench, pliers, screwdriver, plumber’s tape, and possibly a flashlight for better visibility. Ensure you have everything at hand to avoid interruptions during the installation process.
Besides tools, you might need additional materials, such as new supply lines or gaskets, especially if the existing ones are worn out or incompatible with your new faucet. It’s also a good idea to have a towel or a small bucket handy to catch any residual water when disconnecting the old faucet. Proper preparation will make the replacement process smoother and quicker.
Preparing for Faucet Removal

The first step in removing your old faucet is to shut off the water supply. Locate the shut-off valves under the sink and turn them clockwise to close. This step is crucial to prevent water from gushing out when you disconnect the faucet. After shutting off the valves, turn on the faucet to release any remaining water and pressure in the lines.
Clear the area under the sink to provide ample workspace. This might involve removing cleaning products or storage items temporarily. Protect the sink surface and surrounding area with a towel or cloth to prevent scratches or damage during the removal process. These preparatory steps are essential for a safe and efficient faucet replacement.
Removing the Old Faucet
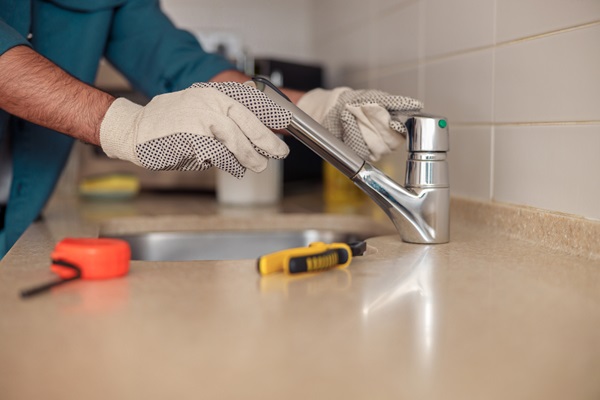
To remove the old faucet, start by disconnecting the water supply lines. This can be done using an adjustable wrench. Be prepared for a small amount of water to spill out, so having a towel or bucket handy is advisable. Once the supply lines are disconnected, proceed to loosen and remove the mounting nuts that hold the faucet in place. This might require a basin wrench, as these nuts are often located in tight spaces under the sink.
With the mounting nuts removed, you can now lift the old faucet out from the top of the sink. If it’s stuck due to mineral deposits or corrosion, gently wiggle it to loosen it. Be careful not to damage the sink surface during this process. Once the faucet is out, clean the area around the sink hole to prepare for the installation of the new faucet. Removing any grime or old plumber’s putty will ensure a clean surface for a better seal with the new faucet.
Installing the New Faucet

Installing the new faucet begins with positioning it in the appropriate holes on the sink. If your new faucet comes with a gasket for sealing, place it between the faucet and the sink surface. If there’s no gasket, you can use plumber’s putty to create a seal. After positioning the faucet, go back under the sink to attach and tighten the mounting nuts, securing the faucet in place.
The next step is to connect the water supply lines to the faucet. It’s important to ensure that these connections are tight to prevent leaks, but be careful not to over-tighten, as this can damage the fittings. After the supply lines are connected, apply a small amount of plumber’s tape to the threads for a secure fit. Double-check all connections to ensure everything is snug and properly aligned.
Finalizing the Installation
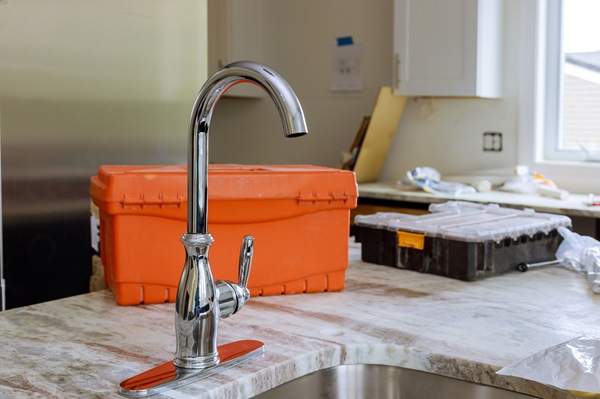
Once the new faucet is installed, the final steps involve checking and testing. Turn the water supply back on by opening the shut-off valves under the sink. Watch for any immediate signs of leaks at the connections. If you notice any dripping, turn off the water and tighten the connections a bit more. It’s crucial to address any leaks right away to prevent water damage.
With no leaks detected, test the new faucet by turning it on. Check both the hot and cold water functions and ensure the water flow is steady and consistent. This is also a good time to check for any unusual noises or vibrations. If everything seems to be working correctly, give the faucet a final inspection, ensuring it’s securely in place and functioning as expected.
Maintenance Tips for Your New Faucet

To extend the life of your new kitchen faucet, regular maintenance is key. This includes routinely cleaning the faucet to prevent buildup of mineral deposits and grime. Use gentle cleaning products to avoid damaging the finish. It’s also important to periodically check under the sink for any signs of leaks or drips, addressing them promptly to prevent water damage.
In case of minor issues, such as a loose handle or a minor drip, learning some basic troubleshooting can save you time and money. For example, a dripping faucet often requires just a simple replacement of a washer or o-ring. Familiarizing yourself with your faucet’s manual can help in understanding its parts and how to handle common issues. Regular maintenance and prompt attention to small problems will keep your faucet in good working order for years to come.
Transform Your Kitchen with Confidence
Replacing a kitchen faucet is more than just a necessary fix; it’s an opportunity to upgrade your kitchen and enhance your DIY skills. With the right tools, a bit of patience, and this step-by-step guide, you can successfully tackle this project and take pride in your accomplishment. Remember, regular maintenance can prolong the life of your faucet and keep it functioning beautifully. Don’t hesitate to embark on this rewarding home improvement journey and embrace the satisfaction of a job well done.
