There will come a time when you would feel that you should renovate everything in your house, and you will start with your mission. Maybe you would think of buying a new carpet or new paint for your home. There will always be a new dining table or new couches for your living room, but there will always be one dresser still in excellent condition. What if the dresser has some strong story behind it, and you are not willing to let it go? No one wants to throw out a dresser that is dear to them and also in good condition.
The next question would probably be if it’s too old-fashioned and does not go with the other furniture. Refurbishing will make your old dresser change into something new and something that matches your taste. Before jumping onto the steps, remember to decide the final output of your dresser.
Let’s move forward to how you can change your old wooden dresser into something that looks like a brand new one and matches your other furniture.
Step 1

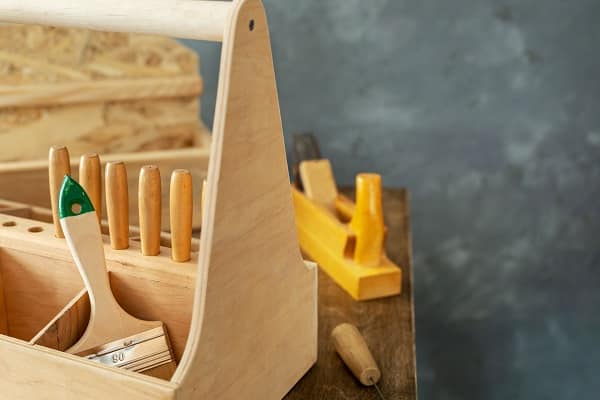
The first step would be to collect all the materials you would need for your dresser. Those things would be:
- Sandpaper
- Screwdriver
- Paint Brushes
- Water-based pre-stain
- Stir sticks
- The paint of your choice
- Cloth
- Gloves
- Oscillating tool
- Painters tape
- And spray paint if you want to use it.
- Fashionable or classy new knobs if you need them.
Step 2

After you have collected all the materials you require for your new dresser, start by bringing your dresser to a place where you can easily do the work, maybe in a backyard or a garage. You can even lay down some paper below so that no stain would be left behind on the floor.
Start by removing all the drawers and, with the help of a screwdriver, take out the knobs of the dresser or the drawer pulls if it has any.
Step 3

After all the items are out and kept in safe spots, it is time to remove the paint. Do this by using sandpaper. Clean all the surfaces that are wood. After you do this, take an old cloth to wipe off the sanded surfaces. Repeat the sanding process and clean all the parts of the dresser thoroughly. Again wipe all the surfaces and drawers with an old cloth.
Remember to wear glasses or goggles while doing this to protect your eyes from the sanding dust.
Step 4

Now, wear hand gloves for safety measures, and you are good to go. If you only want the color of the wood to be a lighter or darker shade, then using only the stain will get your work done. With the help of a paintbrush or a sponge, apply the stain to the dresser. Take care of all the small areas and do not leave any spots. When the stain is even on all sides, you have achieved the desired color and leave it to dry. Suppose you want a darker shade, then use another coat of stain on it. You can seal the deal by using polyurethane to preserve the color and give it a finishing look. Check the manufacturer’s details about the time it needs to dry up.
You can also change the wood dresser into a new one by changing the color. If you want to give your dresser a new color, you need to buy a tin of paint. You can use blue, red, yellow or even green. These colors tend to give a fresh and lively look to the place. You need to wait until the stain dries up, and you can coat the entire furniture with the color you have. First, apply a thin coat of paint onto it and let it dry for some hours. Use a second layer of the paint to darken the color. If you want a lighter shade, then the first coat will work just fine, but if you’re going to give a darker shade, then another thin layer of the color would help you get the desired look. After it dries up, use polyurethane to give it a finishing and shiny look.
Step 5

If you want to change the knobs or the drawer pulls and add some new ones, you can do that too. Put the knobs back in their places and slide the drawers back in. Clear up the area and take your new dresser inside.
Tips

- While painting the dresser, use the painter’s tape so that you may not smudge the color.
- Wear gloves so that the paint does not stick to your hand.
- Wear goggles while sanding the dresser.
The Bottom Line
If you are looking for a new look for the house, then giving away a well-maintained dresser would be wrong. Why waste money buying a new one when you can change the looks of the old one? This will also keep you busy for some days. Also, refurbishing something gives it a unique look, and there wouldn’t be anyone else who would have the same dresser as yours.


